Getting Started with JavaScript on Windows
Setting up JavaScript development on Windows is easy with Node.js and Visual Studio Code. This guide will walk you through the process so you can start writing and running JavaScript code right away.
Step 1: Download and Install Node.js
To run JavaScript outside the browser, you'll need Node.js. Here's how to install it:
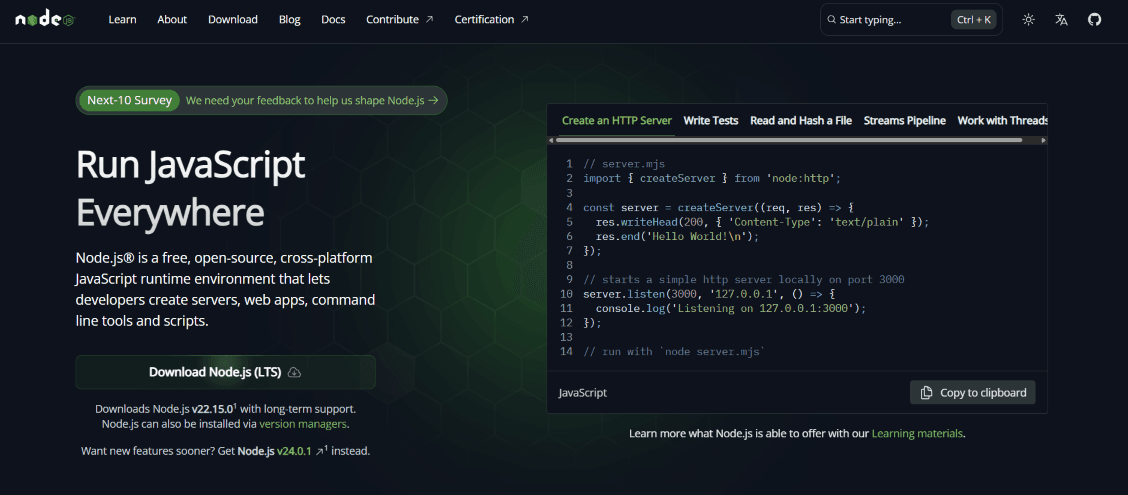
- Visit the official Node.js website: https://nodejs.org
- Download the LTS (Long Term Support) version for Windows. This version is recommended for most users.
- Once the installer is downloaded, run it and follow the installation wizard. Keep the default settings.
Step 2: Verify Installation
After installation, verify that Node.js and npm (Node Package Manager) were installed correctly:
- Open the Command Prompt (press
Win + R, typecmd, and press Enter). - Run the following commands one at a time:
node --versionnode --versionnpm --versionnpm --version - If both commands return version numbers, you're good to go!
If Node is correctly installed, you will see the version of Node displayed in the terminal, something like:
For Node.js version:
v22.x.xv22.x.xFor npm version:
10.x.x10.x.xStep 3: Install a Code Editor
We recommend using Visual Studio Code (VS Code) as your editor. It’s lightweight, powerful, and perfect for JavaScript development.
- Visit https://code.visualstudio.com and download the Windows installer.
- Run the installer and follow the instructions to complete the setup.
- After installation, open VS Code from your Start menu.

Step 4: Run Your First JavaScript Program
- Open VS Code and create a new file named
app.js. - Type the following code:javascript
console.log("Hello, JavaScript!");console.log("Hello, JavaScript!"); - Save the file to an easily accessible location like your Desktop or Documents folder.
- Option 1: Run using the Command Prompt:
Open the Command Prompt, navigate to the folder where the file is saved using thecdcommand, and run:node app.jsnode app.js
- Option 2: Run directly in VS Code:
Click the ▶️ Run button at the top right corner of the editor window
- You should see the following output:
Hello, JavaScript!Hello, JavaScript! - 🎉 Great job! You've successfully created and run your first JavaScript program on Windows.
That’s it! You’re now ready to explore the world of JavaScript development on your Windows machine. Happy coding!
Frequently Asked Questions
Do I need to restart my computer after installing Node.js?
Do I need to restart my computer after installing Node.js?
Not usually. However, if the terminal doesn’t recognize node or npm commands after installation, restart your computer to refresh environment variables.
What is Node.js and why do I need it?
What is Node.js and why do I need it?
Node.js is a JavaScript runtime that lets you run JavaScript code outside the browser — it's essential for using JavaScript on your local machine.
How do I check if Node.js is installed?
How do I check if Node.js is installed?
Open the Command Prompt and type node --version and npm --version. If you see version numbers, Node.js and npm are installed correctly.
Can I use another code editor instead of VS Code?
Can I use another code editor instead of VS Code?
Yes, you can use any code editor you prefer, such as Sublime Text or Atom. VS Code is recommended for its features and extensions.
How do I run JavaScript files from the terminal?
How do I run JavaScript files from the terminal?
Navigate to the folder where your JavaScript file is saved using the cd command and run it using node filename.js.
What if node is not recognized as a command?
What if node is not recognized as a command?
This usually means Node.js is not added to your PATH environment variable. Try reinstalling and ensure the “Add to PATH” option is selected during setup.